
4 Photos

Wet-To-Dry Eye Shadow: A Guide
Earbud Hoodie
Source: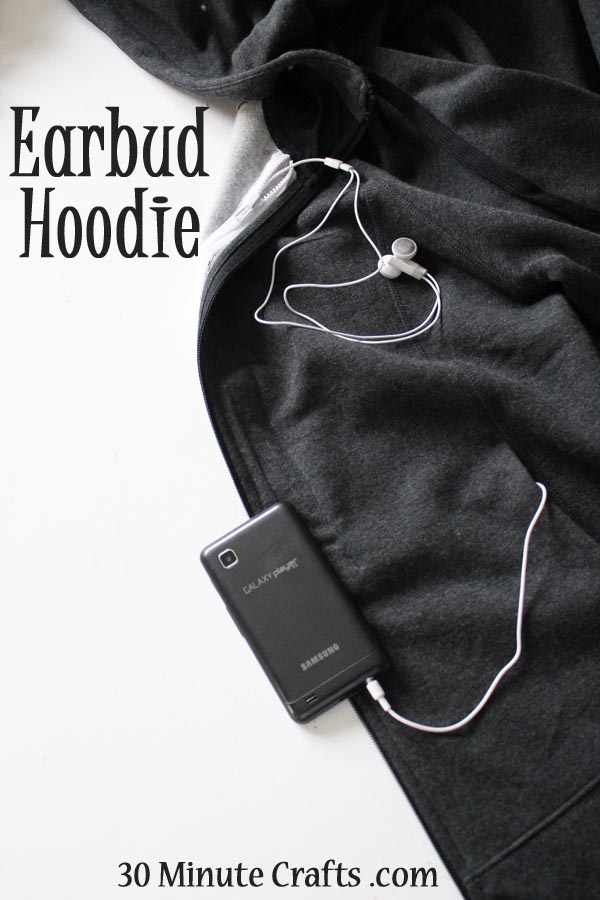 Earbud Hoodie's have you heard of these? I saw a hoodie a while ago that had earbuds in the hood. It was pretty cool, but if your looking for DIY version here it is! Carolina from 30 minute crafts shares a fantastic and EASY tutorial. All the teens here would love one. Specially the ones that listens to music during class. (I'm not saying this is right) But, I do know people that try to sneak and do it. Ha! When I use ear phones they always get tangled, so I really want to make me one! Be sure to check out the tutorial.
Click here to view the tutorial
Be sure to subscribe via email below and "Like" us on Facebook!


Wet-to-dry eye shadows need not be complicated. While it might sound like yet another technique one must master in order to navigate a makeup counter, perhaps it’s better to think of it as a two-for-one deal.
Wear it dry, and you’ve got your standard dusting of color—classic and predictable (in a good way). But wet! Wearing it wet opens a whole new world of opportunity. “What you’re doing is bringing out the pigmented nature of the shadow,” makeup artist Vincent Oquendo says. “Whenever I wet an eye shadow, it’s when I really want it to pop—but it really has to be a special kind of product to be able to blend after it sets. Because a lot of the times when it sets, you get streaking.” Nobody wants that. In order to avoid any wet shadow mishaps, follow these guidelines:
Product
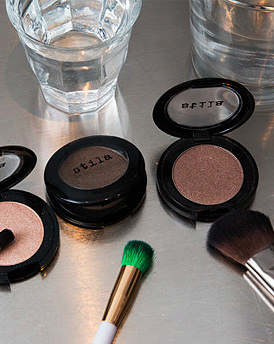
First, go with the obvious: any eye shadow labeled wet-to-dry. The Nars Dual-Intensity line is the standout—the singles come in 12 different shimmery shades, and there’s a corresponding brush (then there’s the newly released Dual Intensity Blush line, which was all over Fashion Week—but that’s a product for another post). Burberry also makes a few very versatile shades specifically for this in their Wet & Dry Silk Shadows. And the technique-specific eye shadow category isn’t just a ploy to get you to buy more product. “You can’t just use any eye shadow for this,” Vincent says. “Certain ones will harden up on top and become unusable because they’re not made for this.”
Baked shadows are also fair game—we’re fans of Laura Mercier’s Baked Eye Colour Wet/Dry and Lorac’s Starry-Eyed Baked Eye Shadow Trio in particular.
For more advanced players, Vincent suggests moving on to straight pigment (MAC or even OCC’s Pure Cosmetic Pigments). With the added moisture, they’ll become easier to layer with other products. For a look with more depth, try using a cream shadow as a based before swiping with a wet powder shadow. “It’s like insurance,” Vincent says. “You’re doubling your wearability.”
Brush
This all depends on exactly what you want to do. “Mind the resistance,” Vincent says, particularly if you’re looking for uniform color across the lid. “I tend to recommend a blender brush, which is the brush that looks like a feather duster. If you do it with a stiff brush, you’re defeating yourself before you even start. The joy of a wet-to-dry is you have to get it right amount of product loaded up, and then it blends itself. If the brush is too stiff, it will leave the shadow streaky and then much harder to control.”
However, if tightlining or waterlining is in the cards, a much thinner brush is required accordingly.
Liquid
Do not, repeat, do not put eye drops, water, or any other sort of liquid directly on your eye shadow. This’ll screw up your product for later use. “Lately, I’ve been wetting the brush with the Glossier Soothing Face Mist, but Evian Mineral Water Spray is good for sensitive eyes,” Vincent says. If the top of your powder does get a little hardened by wet application, there’s a trick to remove it: Get a clean mascara spoolie and “exfoliate” your compact, Vincent recommends. This won’t crack the compact and will make it ready to go once more.
Photographed by Tom Newton.